How do we love thee T!m, let me show you the ways.....
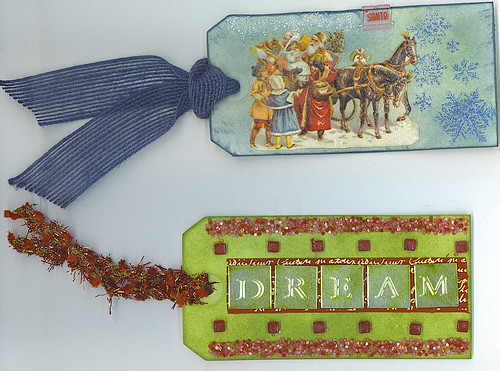
Top tag was inked with Faded Jeans and Peeled Paint Distress Inks, decoupaged with a vintage clip art which in turn was treated with a good coat of Rock Candy Distress Paint, stamped with snowflakes and those embossed with ZING! blue glitter finish embossing powder, edges roughed up and inked heavily, Picket Fence Distress Stickles run in a dripping line on top for icicles, ribbon attached and a little plastic clip adhered.
Bottom tag was well inked with Peeled Paint Distress Ink and then splattered with water droplets, edges distressed and well inked, double stick tape put down top and bottom and Suze Weinberg's Mini Mosaics in Rasberry adhered to tape, 7gypsies red Sommes Gaffer Tape run along center, silver metallic alpha stickers treated with alcohol inks placed on gaffers' tape, and red mosaic stickers run along top and bottom of gaffers' tape.
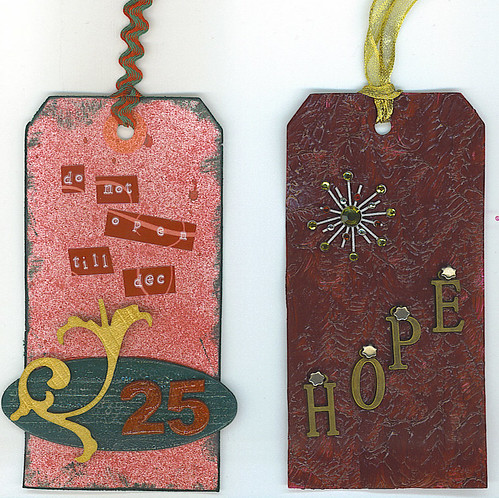
First tag was inked sprayed with Starfish Glimmer Mist, edges distressed and inked directly with Pine Needles Distress Ink, words stamped out on an AroundTheBlock Tapewriter (this thing is a piece of crap, doesn't advance the tape half the time and you have to do it manually, but I bought into a bunch of cool tapes before I knew this, so I use it from time to time lol), and layered with Grungeboard pieces. I painted the oval with Adirondack's Acrylic Paint Dabber in Bottle and then heavily painted it all over when dry with Distress Paint in Rock Candy. The numbers were inked heavily with Faded Brick Distress Ink and also covered with Rock Candy Distress Paint. The flourish shape was just painted with Adirondack's Acrylic Paint Dabber in Gold.
Second tag was painted all over with Plaid FolkArt High Definition Acrylic Paint in Berry Wine. This stuff is truly amazing, a great dimensional paint, you must get some and try it! I used a foam brush (it is a waterbased paint) and after getting a nice thick coating on my tag, just sort of tapped and lifted to get the most dimension from the paint. Make sure it dries thoroughly before continuing, though! This texture is rather bold and can stand on its own, so I kept it simple from here on out. Just added a bejeweled star brad from Karen Foster and some metal alpha embellies attached with star brads.
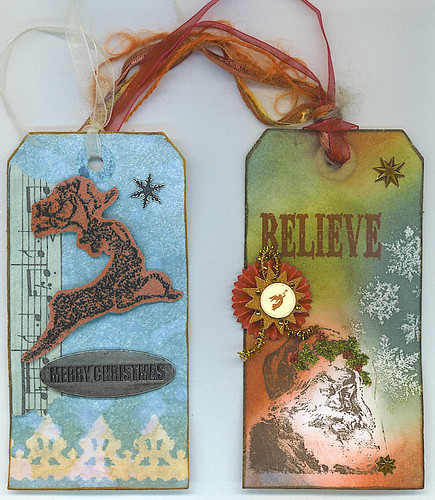
Left tag was first masked with a Tim Holtz Borderline mask and then sprayed with Glimmer Mist. After dry and mask was removed, tag was irregularly inked with Old Paper Distress Ink. Tim Holtz' symphony Tissue Tape was roughly torn and adhered, as was star brad and metal phrase embellie. Lastly, I stamped and embossed Tim's reindeer stamp on Grungboard, inked with Fired Brick Distress Ink, and cut out and attached to tag with dimensional glue dots.
Right tag was first stamped with Santa using Staz-On in black, then inked using various colors of Distress Inks. The snowflakes were stamped using white pigment ink and embossed using a very fine glitter powder. Edges were distressed and inked, bronze star stickers and vintage Christmas rosette sticker adhered, BELIEVE stamped in Fired Brick Distress Ink, and finally Distress Stickles in Peeled Paint and Fired Brick used to embellish Santa's hat.
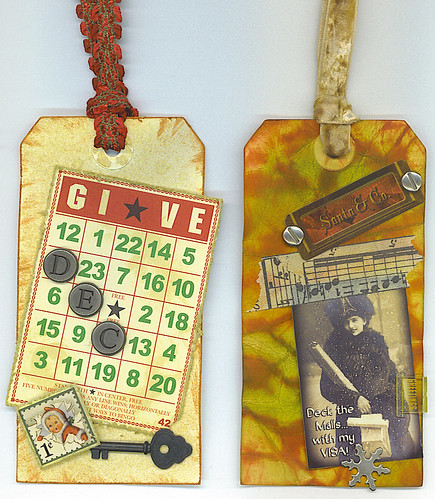
First tag was sprayed with Wheatfields Glimmer Mist and edged heavily inked with Tea Dye Distress Ink. Bingo card edges were heavily distressed - even lost a corner there but that works here! - and inked with Brushed Corduroy Distress Ink before being glued to tag. Metal alphas were also glued on, as was metal key. Stamp clip art was distressed and attached with foam square for dimension. At the end I thought something wasn't right, so I took the Antique Linen Distress Ink and randomly blotched the bingo card to age it. Much better!
Ah, my final masterpiece. I don't even remember which colors of Distress Ink I used, but there were many! First I crumpled up the tag, inked it heavily with Fired Brick Distress Ink, then sprayed with water and let the water move a bit by tipping the tag around. It actually didn't look the way I had anticipated at this point, the red seemed way too dark for what I was thinking. So I went to town and experimented. I ironed it flat when it was dry, then inked up in various colors. I think I used Mustard Seed, Spiced Marmalade, Barn Door, Peeled Paint, Forest Moss, and Faded Jeans. Yeah, lots of color LOL!! I distressed the edges slightly and inked. Attached a vintage clip art piece with the Symphony Tissue Tape, and secured it further with a snowflake brad. Added another clip art piece, attached with two nailhead brads this time. Added a Greetings clip on the side and topped it all off with an elegant crushed velvet ribbon. Oooh la la, la fa la la!!
All these tags were made for the 2010 MJF Christmas Tag Swap. I have three partners so I had to make a bunch!
Friday, December 03, 2010
MJF Christmas Apron Swap
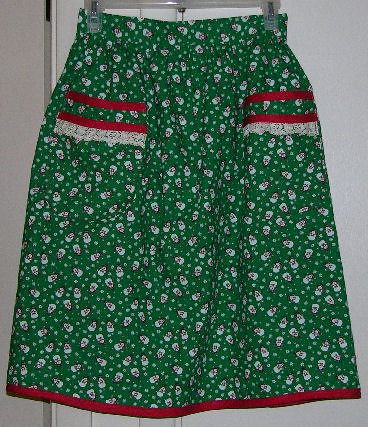
Made this cutie for Patricia, who collects snowmen and has a red and white kitchen. I searched hgh and low for red and white snowman fabric at my local store, but to no avail. I think that's OK, as this will give that kitchen some festive contrast. Besides, this is one of those nice vintage calicos that are much sturdier than the ones made these days, yet still has a nice drape and isn't too stiff like the lighter home dec fabrics often used for aprons:
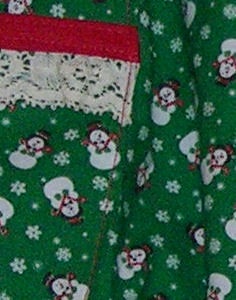
And here's a close-up of the pocket corner so you can see those cutie patootie snowmen better:
And yes, ahem, I AM aware that I am making a boat load of posts today. I do not seem to be able to get on regularly with my schedule and all, so I am doing what I can do. I rather do group postings, blocking each topic into another post, than not post at all. I also find that sometimes I am ready to post, pics are all ready and everything, but I am waiting to make sure a recipient has received their giftie before I make it public. By the time I know it has been received, I forget to post!! So bear with me and my feast or famine postings.
Duck Tape Adventures
I know everyone else has been riding the duck tape train for years, but I have only recently taken a ride and I must say that I love the rails! Cheap tickets, meandering routes, and scenic views. Happy happy joy joy!!
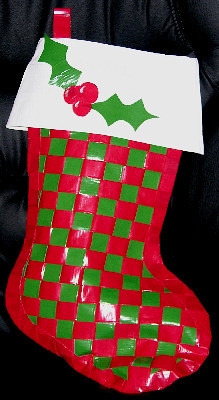
First I started with some woven Christmas stockings:
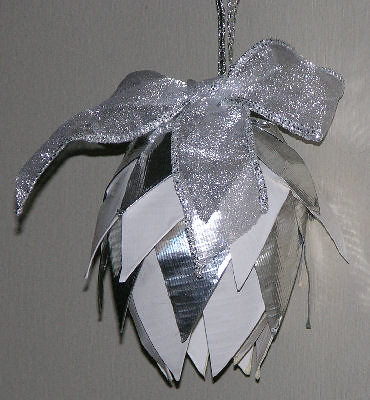
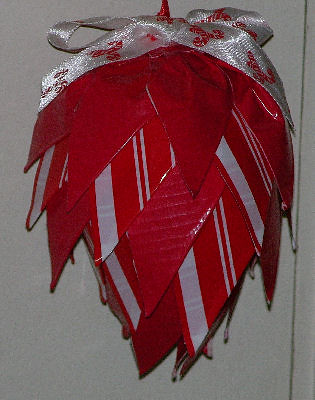
These were real easy and didn't take too terribly long to make, though some time was involved. I actually saw one pictured in the 2010 Joann Fabrics Christmas catalog, and they said instructions were available online, but there were no instructions available so I just made it up as I went (after a nasty note to corporate for their false advertising! they said they would get around to fixing the issue but whatever, I wasn't about to be thwarted by duck tape). I just made non-sticky tape "ribbons" by folding lengths of tape, stick side to sticky side, then weaving those ribbons to create the stocking front. It helps to use strips of blue painters' tape to keep the top and bottom tape strips in place while weaving. For the back, I made a red tape fabric and cut both front and back out in a stocking pattern. Again I used painters' tape, making a large X through the front weaving, to hold it all together while I cut (this was easy to carefully remove from the inside of the stocking when I was all done). I attached front and back using red tape as a seam binding of sorts, then made a white tape fabric cuff and just taped that to the top inside of the stocking. Decorations of holly leaves and berries (highlighted with a silver metallic sharpie!) completed my beauty. These were very well received at both work and within the family - my dear aunt even tried to claim a couple for her own! I didn't let her get away with it, as I used those first two for MJF Christmas swaps, but I did let her abscond with my very first duck tape Christmas ornament. I got the idea for this from the roses folk make from duck tape - they sort of start with a square that's folded into a triangle and a small sticky side is left to adhere the petal to the rose. I just overlapped those triangles, sticking them to a styrofoam ball instead of to each other. The result is smoother than the roses, and I think the result resembles a pinecone. My first was a rather elegant inspired silver and white. Take a look-see:
Isn't that pretty? My aunt has rather old-world elegant decor tastes, so it suites her just fine. And she feeds me real good food a lot, so she can get away with a lot of crafty absconding LOL!
I have made quite a few of these since then, trying out different color themes and such. Been using a lot of coupons at the craft store on duck tape! Here's my second, though. I love how it looks, very Christmas-y. Though the unevenly striped candy cane tape is not duck tape per se, it IS made by Duck brand, and it is rather cute, so I used it anyway. Worked fine, too. It's a sort of seasonal packaging tape:
I have moved on for the time being, from stockings and ornaments to table decor and purses, but that will have to wait till later. Their are Christmas recipients out there who I want to surprise!!
Brown Button Reindeer Swap
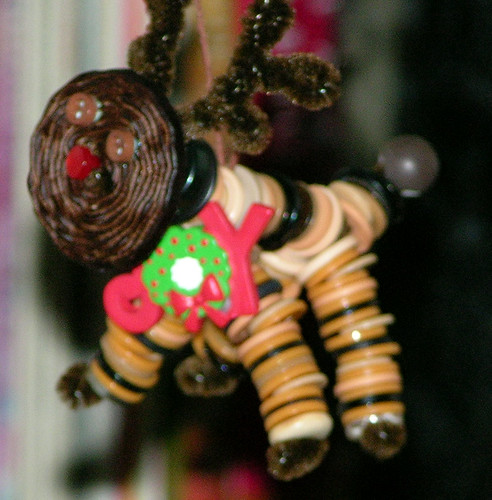
This MJF swap was my nemesis, my own personal albatross! For some reason, I just couldn't get my creative mojo in order. Talk about block!! I had ideas that I just couldn't bring to fruition, so I finally gave in and did one of these guys the exact same way everyone else did them. Sigh. Conformity just isn't my thing. This pagan soul has never walked the way of the masses, baby....
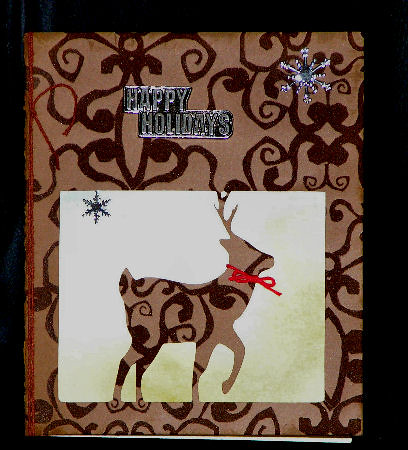
First Christmas Card for 2010
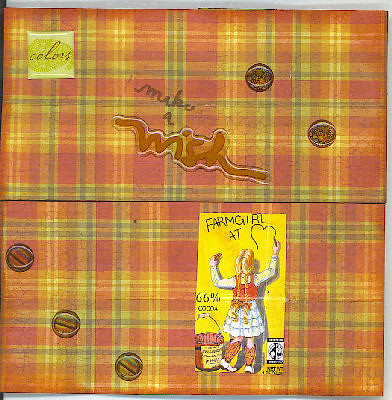
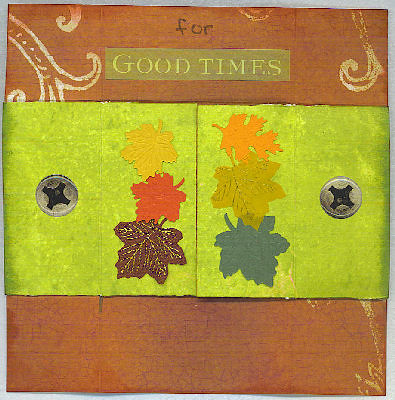
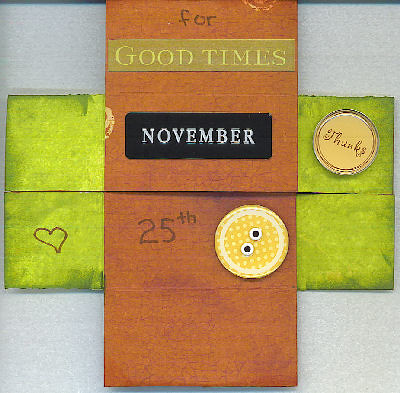
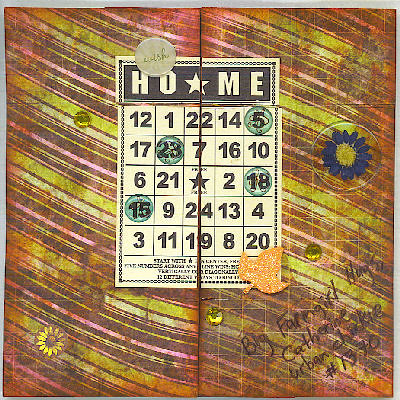
November Mailart
Saturday, October 30, 2010
Halloween Fun
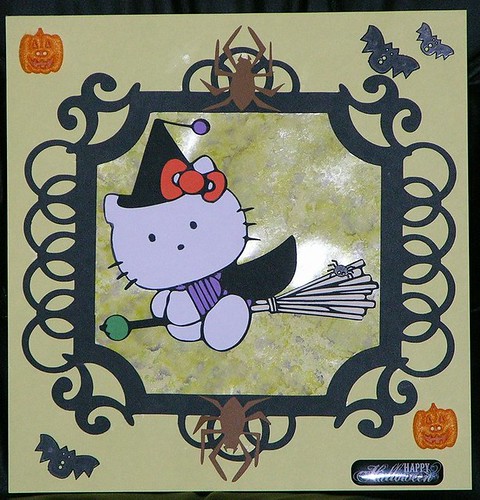
I have made a few Halloween papercrafted treats this year. First, my October mail art was a Hello Kitty witch I cut using MTC on my Cricut. I mounted her on a transparency sheet that I had inked up with alcohol inks, and framed it all with a great gothic frame complete with spiders (from the Happy Hauntings cartridge). The final size was big and wonderfully weird:
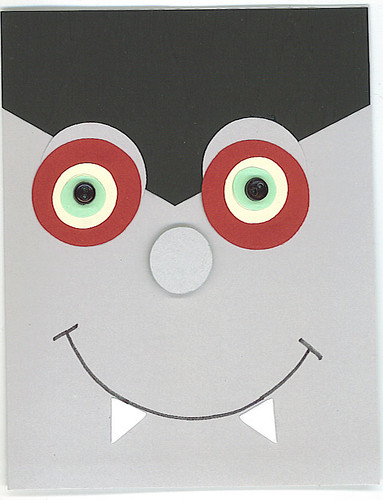
Then, I made vampire cards for another MJF swap. these are a slight variation on one I received last year in a Yahoo group swap, I think done by a gal named Valerie. The count's hair is embossed on the Cuttlebug using the twig/branch folder, it makes great hair on die cuts! Unfortunately I couldn't get that embossing to show on my pics:
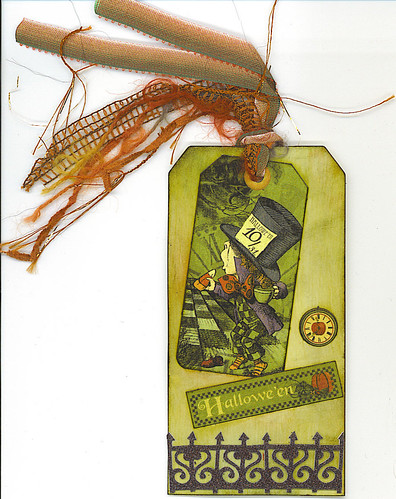
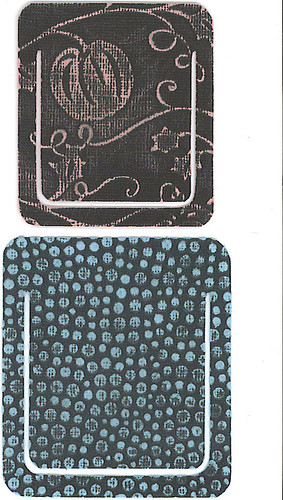
After that I made a bookmark which I LOVED. I am very upset as it seems to have been lost by the postal service, but I was lucky to find the same paper so I will most likely make another just like it for my swap partner. While I am at it, I probably will make myself one too LOL!! The paper elements are off a tag sheet from Graphic 45, and I sponged various distress inks for the background. I used modge podge on the whole shebang, then applied a sticky glitter chipboard fence on the bottom, and topped it off with a melange of fibers:
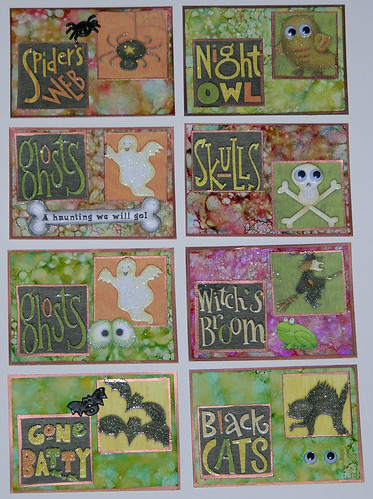
Lastly, I made a dozen ATCs for a MJF swap. A few were duplicates, but I photographed each different one. They are done on clear acrylic ATC blanks inked with alcohol inks, modge podged paper elements, and a few other things like googly eyes and bat buttons, that sort of thing:
Friday, October 01, 2010
Apronology
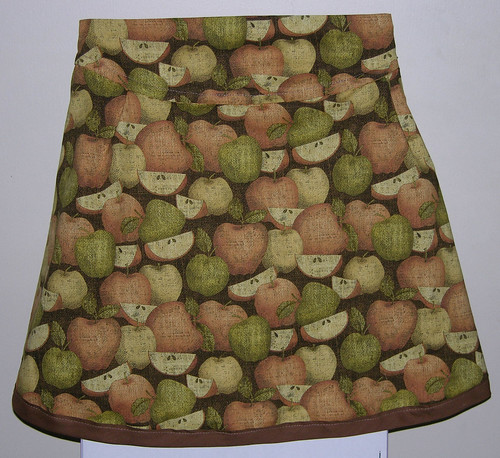
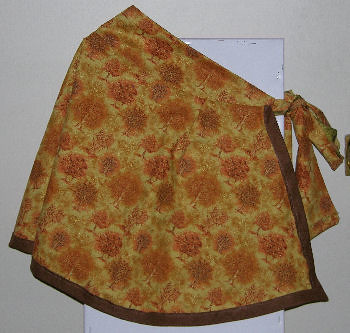
I have a newly found fascination with aprons. I cannot possibly ever have a need for all the aprons I seem to crave, so I have been making aprons to give away. The following apron was made for a MJF swap using the pattern found here. I made some modifications - I removed the higher row of decorative hem tape as I thought it cut the visual in half unappealingly, and I made it reversible. But I really like this pattern and will most likely use it again. I love this apple fabric so much, it was hard letting this one go!
And here is the reverse side:
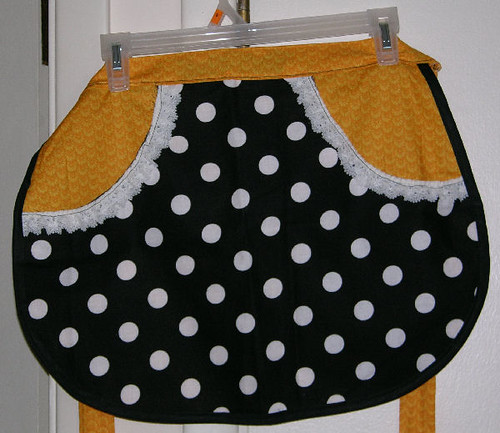
And in return I received this stinkin' cute apron:
And here is the reverse side:
And in return I received this stinkin' cute apron:
Thursday, September 30, 2010
Felted Pumpkin and Paper Treats
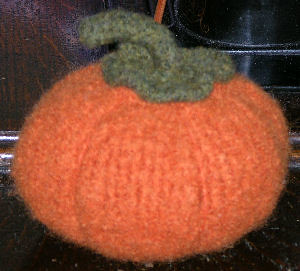
I have had this pattern for a knitted and felted pumpkin on my to-do list for a while, and when I joined a Halloween Goodie Bag swap on MJF it seemed like the perfect addition. While the knitting went easy peasy, I had a bit of difficulty with the felting. I didn't feel like paying my landlord for several loads of wash to get it all felted, and so I thought I'd do it by hand. Mph! The stitching all stretched out the second it hit the first batch of water. I sort of had a hard time keeping the shaping as it began to felt, though the Lion brand yarn I used did felt well. But the plastic bags called for to stuff the pumpkin while felting blobbed about, misshaping the pumpkin, and the yarn that was supposed to define the sections sort of drifted. I was none too happy!! I finally just took the stuffing out and finished felting empty. Then when it was dry (several days later, sheesh!), I took a matching color thread and wrapped it around the section divisions. I think the final effect is good but I really wonder if the machine felting works better. Still, what a cute little felted joy:
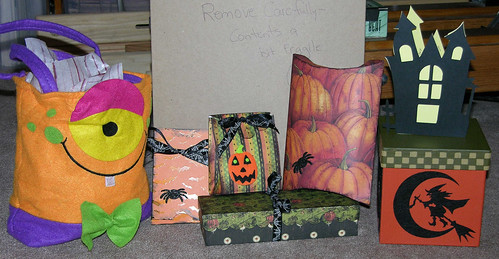
Besides the banner I previously posted and the felted pumpkin, I also made a few candy containers out of cardstock using my cricut and Make The Cut. The felted pumpkin was tucked snug in a felt bag from the dollar store, and a store bought metal Halloween ornament was placed in a cute witch box I got last year on clearance. A haunted house card topped it all off:
Wednesday, September 29, 2010
Halloween Banner
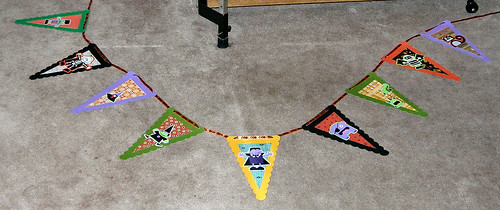
Banners seem to be all the rage right now in the papercrafting world, so I decided it was high time I joined the bandwagon. I made my first banner rather piecemeal, as at first I wasn't planning on a banner. Rather, I was just cutting characters from my new Mini Monsters Cricut cartridge for play. I love this one! There are cute monsters as well as a lot of Halloween themed characters. I still haven't made the 3-D haunted house - I read one blogger took 2 hours to make and assemble it! But that's coming as well.
So, I had all these paper piecings and was thinking I would make oversized tags with them. But the tags looked too big, and then I realized they would make a cute banner! I cut the basic banner shape using the Country Life Cricut cartridge, because I have it right here and was being too lazy to make a shape myself lol. I like the scalloped edge the cart gives you. For the inside triangle, I just used my paper trimmer to cut a set of matching triangles from printed papers. Then I mounted the monster characters on top and threaded the whole shebang on cute Halloween ribbon. I really like how it came out, and will be making more of these. I am thinking I need one for every holiday, yes?
Since I decided to send this banner as part of a Halloween Goodie Bag swap on MJF, I didn't want to tie it up to photograph it. These pics are crummy but you get the idea. At first I wanted to make flower rosettes under the characters, but couldn't figure out how to ship the resultant 3-D banner pieces safely with all the other goodie bag contents, so I stuck with flat this time. My next banner will be for either me or my cousin's boys, both local, so I think I will try rosettes with that one.
Here are close-ups to see what the individual flags look like much better - just click on the pics to get a better look:
Tuesday, September 28, 2010
Tea Time
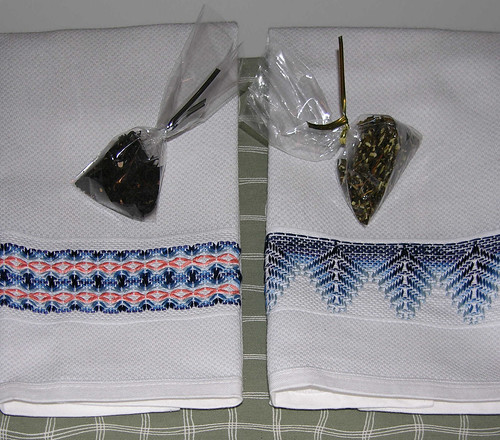
I have been a tea lover for decades. And what better accoutrement for tea than a lovely tea towel? These were made on huck toweling with a 14 count Aida border. The designs are done in Swedish weaving, also called huck embroidery, and are modifications of patterns I found in Huck Adventures. Huck embroidery works by passing the embroidery threads under floats on the top of the fabric; the floss never travels to the back of the fabric. It can create lovely geometric designs. I love how these turned out! I made them for yes, yet another MJF swap.
Sunday, September 19, 2010
Bookmarks, Baby
It's really fun to swap bookmarks. They can be as detailed or as simple as you wish. They can be made of paper, fabric, ribbon, raffia, thin plastic or acetate, you name it. A bookmark can be cut, glued, layered, stamped, sewn, woven, knit, crocheted, tatted, and probably other things I cannot even imagine at the moment. And the finished product fits into a simple envelope, no extra postage needed. Besides, we could all use a bit more reading in our lives, right? Consider doing a bookmark swap, it's fun!
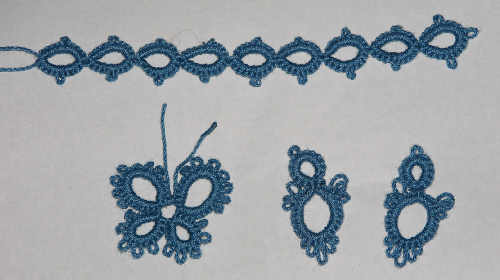
Here's a tatted bookmark I made for Angie in WA. I find needle tatting easy and restive but weaving in the ends is sheer hell, let me tell you. And this one had a LOT of ends!! Since you use a needle the same thickness as the thread, there just isn't room in there for a couple passes of thread! Despite the finishing aspect, I did enjoy making this one.
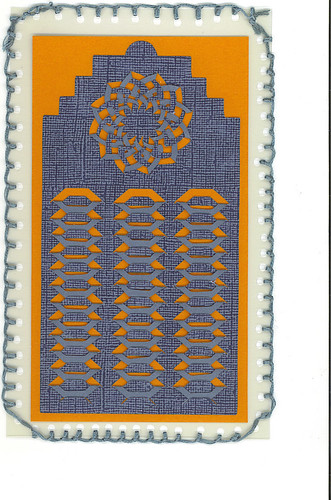
The next one went to Mary E. The main cardstock was cut on my Cricut E using a file from Wanda . I love the folded elements and she has a few other files like that. After all the folds were made with the cuts, I backed with a high contrast paper, and finished by whip stitching two sheets of transparencies together with embroidery floss. I think it came out well:
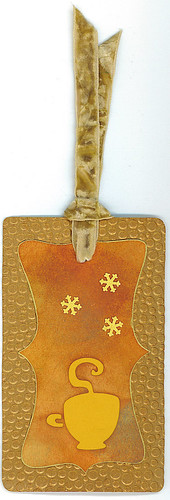
My next bookmark was made with wishful thoughts of winter to come. Of course, by the time it actually gets here, I will be wishing for summer no doubt. I clearly live in the wrong part of the country! I want long springs and autumns, but instead I get severe summers and winters. Ah well. This one has an embossed backing, cut out teacup with a layer to highlight the cutout, distress inked paper layering, gold leafing around the inner edge, and a velvet ribbon. It was missing something so I found the perfect snowflakes: they are actually the negative fallout from a snowflake border punch but they work perfect here:
Finally, I leave you with a couple real simple bookmarks. Again, these were cut on my Cricut, but I am sad to say I do not know where the file came from. Both were cut from Coredinations cardstock, embossed with the Cuttlebug, and sanded to bring out the design.
Monday, September 13, 2010
MJF Mailart
I try not to post pics of anything I have made for swaps until after I know my partner has received their goodies, and then I forget to post! So my next few posts will be catch up. I have been very active on the MaryJane Farms Farmgirl Connection forum swaps. One of my regular swaps is a monthly mail art swap. Each month I send out a piece of mail art to a different farmgirl, and in turn received one of my own from a different farmgirl as well! Here are some of the cards I have sent out for the mail art swaps:
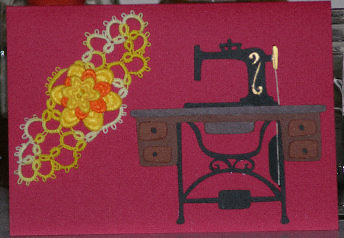
August Mail Art sent to Laura In IL - the treadle belt is actual thread and the base of the design on the left is a partially finished pattern from a tatted bookmark, topped with felt flower buttons
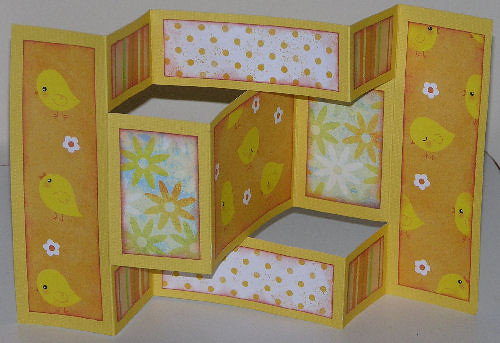
July Mail Art sent to Debra - I just love these trifold cards!
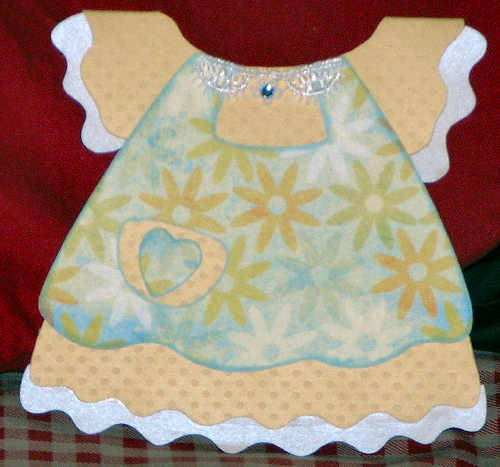
May Mail Art sent to Meg in ID - a nod to her mom's apron evangelism LOL
Thursday, July 01, 2010
New Month
Today is all about remaking soap because my last two batches haven't really worked right. Using tried and true formulations, I have too soft of soap. I am suspecting old lye but today I will be remaking these batches to see. One was a salt bar and at a week old it is nice and hard, but I can still imprint. Usually those little guys are like metal before they even cool completely! Sad thing is, these are for a swap (yikes) that I have to mail out, like, yesterday (GULP!). Trouble always appears under a deadline! And the scents came out fabu, too. OK, off to the soaping dungeon for me!
Saturday, June 05, 2010
Three Day Weekend
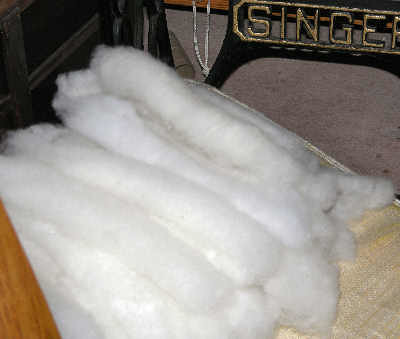
While the rest of the American world celebrated their Memorial holiday last weekend, I have mine this weekend. One of the joys of working in retail. So, I am relaxing and just doing what I have to do, but mostly relaxing. Made another batch of elderberry syrup, cooked some peasant caviar, scanned a few patterns and recipes out of library books so I could walk an hour in the heat and return them, mailed out yet another kombucha SCOBY to a loving home, and continued playing with both my Columbia wool fleece and my tatting. A little ADD here perhaps, but hey it's my holiday. I also managed to do the laundry, dishes, and clean the bathroom. Here's some gratuitous crafting shots:
From the looks of that chair corner I caught, I really should reupholster my two cane back chairs tomorrow....I even have the supplies....but I won't. I have other plans. Low pressure, no deadline crafty plans. Sleep well!
Friday, June 04, 2010
Seriously?!?
OK, I thought blogging daily might be hard, but I thought I could DO it. I lasted only two days? On a technicality?!?!? When you work retail, you tend to define the days not by the clock but by the time between getting up and going to bed. In my world it is still Thursday but the clock says otherwise. Phooey.
Wednesday, June 02, 2010
Pillowcase Swap
I have been joining a lot of swaps on the MaryJanesFarm Farmgirl Connection forum. It's just a great way to make new online friends, and a way to challenge myself to actually sit down and do the things I love to do. Isn't it funny how time can slip away from us? I have been making better use of all those little minutes throughout the day, now that I have more deadlines to meet LOL. One swap I just finished was a one-on-one pillowcase swap. My partner was Mary, a fellow fermentation fanatic (mmm....say THAT ten times fast!). She has a jewel-toned quilt her mom made her, so I made coordinating pillowcases for her. Sorry the picture is so crappy, but I had sent them out before I realized I didn't get a better shot. The ruffle and band are on the short end as you would expect, even if my pic makes it look like they are on the long end. I just adore the fabrics used here, and am happy as a clam that Mary liked them so much!
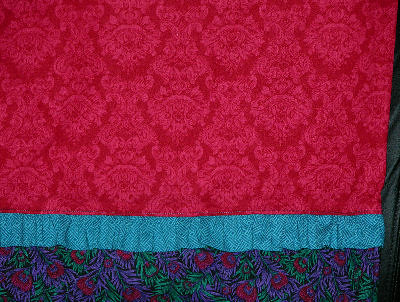
I have been making a lot of pillowcases lately, mostly simple with a contrasting band but in happy, bold fabrics. AllPeopleQuilt.com is hosting a challenge to American sewers and quilters to make and donate one million pillowcases this year. So far the donations just aren't where they need to be to reach that goal, so if you have some spare fabric, won't you consider this fine cause? The website will give you more info, as well as ideas of where to donate. They even have ready to use free patterns. So come on and get your machine at the ready!
Tuesday, June 01, 2010
Tatting Tasks
I have always admired the look of tatting. So, a few years ago I bought several books on tatting, which somehow managed to get placed on the bookcase and I never tatted. I thought about it once in a while, but never got to it. Till recently, it was one of those things I was going to do "someday." Then my recent discovery of all things MaryJaneFarms led me to watch a short video on needle tatting. Wow. None of that silly shuttle maneuvering, needle tatting is EASY. I knew how to make the tatted stitch in less than 5 minutes. Seriously! Of course, I already crochet and knit, which might help in visualizing it, but needle tatting is ridiculously easy for the beautifully lacy effects it produces. Here's a bookmark I made as my first project:
Took all of maybe an hour and a half? I have a new hobby here LOL. This bookmark was done in the ring and thread method. I have started a medallion in the ring and chain method and will share that soon!
Monday, May 31, 2010
Bloggy Business
OK, so I realized that all those old knitting posts had links back to the long defunct Geocities for photos, so I just erased all that. If anyone ever wants to see something, let me know and I'll take a new pic LOL. But I think no one ever reads any of this as I haven't been very good about posting. SO, in that vein, I have decided to join NaBloPoMo for the month of June. The idea is to post every day for a month, to get yourself in the habit of posting. Lord knows I have been up to enough crafty, arty, creative endeavors to fill any blog!! But getting them down in type and taking pics and getting them uploaded, well, that's been a real challenge for me. So I am throwing down the gauntlet here and letting the wind take it where it will! Hope to see you all again soon.
Tuesday, May 11, 2010
What I Have Been Up To Lately
Just some random things I have been doing.....
Nothing beats homemade bagels! Gives you lots of energy for crafting LOL. I have been making a lot of cards lately, and I just finished a set of quilt blocks for a swap. I need to work on getting much better at my accuracy on piecing, though....a lot of the patterns I would like to do in the future are even harder and I had trouble with that star. The centers started out fine and I sort of lost it as I worked out toward the edges. I pieced it using my Singer 66-1 treadle, which was cool. And lastly, after two years of training, I FINALLY got rocket speed on Virus Buster!! 3135 is now my best score WOO HOO!!!!
Subscribe to:
Posts (Atom)