Here's a tatted bookmark I made for Angie in WA. I find needle tatting easy and restive but weaving in the ends is sheer hell, let me tell you. And this one had a LOT of ends!! Since you use a needle the same thickness as the thread, there just isn't room in there for a couple passes of thread! Despite the finishing aspect, I did enjoy making this one.

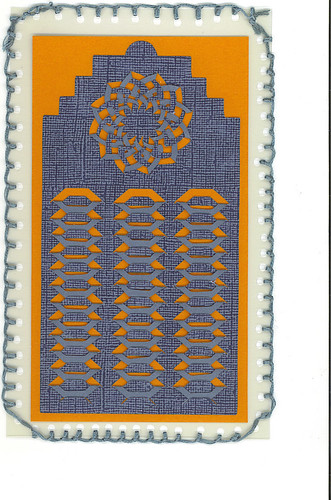
The next one went to Mary E. The main cardstock was cut on my Cricut E using a file from Wanda . I love the folded elements and she has a few other files like that. After all the folds were made with the cuts, I backed with a high contrast paper, and finished by whip stitching two sheets of transparencies together with embroidery floss. I think it came out well:

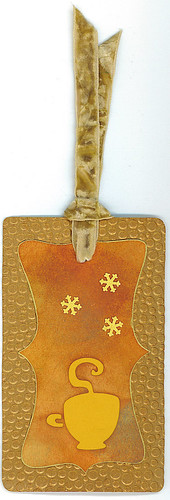
My next bookmark was made with wishful thoughts of winter to come. Of course, by the time it actually gets here, I will be wishing for summer no doubt. I clearly live in the wrong part of the country! I want long springs and autumns, but instead I get severe summers and winters. Ah well. This one has an embossed backing, cut out teacup with a layer to highlight the cutout, distress inked paper layering, gold leafing around the inner edge, and a velvet ribbon. It was missing something so I found the perfect snowflakes: they are actually the negative fallout from a snowflake border punch but they work perfect here:

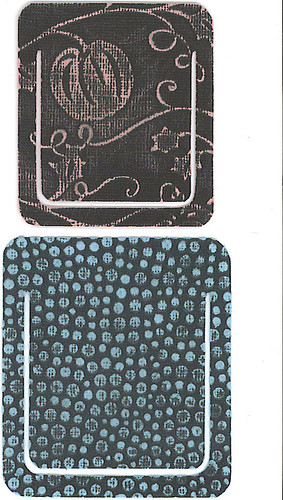
Finally, I leave you with a couple real simple bookmarks. Again, these were cut on my Cricut, but I am sad to say I do not know where the file came from. Both were cut from Coredinations cardstock, embossed with the Cuttlebug, and sanded to bring out the design.


No comments:
Post a Comment